Overview
Squish supports automating Modern UI/Windows Store apps when used on the Windows desktop (not the tablet mode).
The support for such apps is based on Squish' support for Microsoft's UI Automation API. This means that if the application offers information about its GUI objects via UI Automation it should generally be possible to automate the application with Squish.
Using Inspect to check for UI Automation Support of an Application or GUI Control
It is possible to check whether an application (or a specific GUI control in an application) exposes/supports UI Automation via the tool Inspect from Microsoft ( download ).
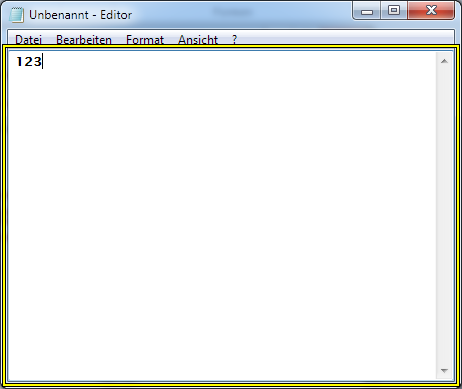
Once started (make sure to configure Inspect via its toolbar as shown in the screenshot of its window further below) Inspect highlights the currently focused control, as shown here for the German version of the notepad.exe application:
Once Inspect highlights the desired control one can inspect the information the information that is available for this control via the UI Automation inside of Inspect itself, on the right hand side:

What matters here is whether Inspect manages to recognize the individual object (button, tree node, list node, etc.), because if it does, Squish for Windows should generally also be able to recognize that particular object (via its UI Automation extension).
Automating a Modern UI, Windows Store App with Squish
Since a Modern UI/Windows Store app is being started "indirectly" (in an isolated area/process called AppContainer) hooking into it must be done via the window title of the app.
To achieve this the following must be done:
Step 1:
Start the app and look up the window title in its title bar or the task bar (by hovering the mouse cursor over its icon).
Step 2:
Open the file SQUISH_DIR/etc/winwrapper.ini and add the window title from step 1 to this line:
Extra Windows=For example for the "Calculator" app supplied with Windows:
Extra Windows="Calculator"Step 3:
Open the file SQUISH_DIR/etc/winwrapper.ini and add the name of the executable of the app (see
Finding the process that a window belongs to
):
Blacklisted Processes=For example for the "Calculator" app:
Blacklisted Processes="Calculator.exe"Step 4:
Set the priority of the UI Automation extension in Squish to 11 (or higher) in SQUISH_DIR/lib/extensions/win/uiautomation.ext. To do this change the line...
<priority>-1</priority>...to...
<priority>11</priority>Step 5:
Write the initial part of the test script yourself, as shown below.
In the test script start a normal Windows desktop application to activate the mechanism that hooks up applications by their window title. For example "notepad.exe":
def main():
    # Start the dummy AUT, addressbook.exe from the
    # Squish package in this case; please register
    # address.exe as a "Mapped AUT" at
    # Edit > Server Settings > Manage AUTs...
    # for this purpose:
    startApplication("addressbook")


    # Now start the actual AUT outside of Squish, so
    # that Squish will hook it up via the window title;
    #
    # The name "calculator" has been read off of the
    # "AppxManifest.xml" file that is in the same folder
    # as the "Calculator.exe" file which appears on the
    # process when starting the Calculator app.
    # Once it appeared there you can double click on the
    # process in Process Explorer (https://technet.microsoft.com/en-us/sysinternals/processexplorer.aspx)
    # and click on the "Explore" button at the "Image" tab
    # to open its folder, and there you can find the
    # AppxManifest.xml file. Also see:
    #
    #  https://kb.froglogic.com/display/KB/Finding+the+process+that+a+window+belongs+to
    #
    # In this file look for a line like...
    #
    #  <uap:Protocol Name="..." />
    #
    # ...for example...
    #
    #  <uap:Protocol Name="calculator" />
    #
    # ...and then use that Name attribute value here:
    os.system("start calculator:")


    # Wait for the new process to have been hooked up:
    waitFor("len(applicationContextList()) == 2", 5000)


    # Now let's automate the app:

    clickButton(waitForObject({"text": "One", "type": "Button"}))
    clickButton(waitForObject({"text": "Plus", "type": "Button"}))
    clickButton(waitForObject({"text": "One", "type": "Button"}))
    clickButton(waitForObject({"text": "Equals", "type": "Button"}))


    # Set a breakpoint on the following command, execute to
    # it, then you can record further snippets via
    # Run > Record Snippet:
    return

def init():
    # Kill the app if it is running already,
    # before main() gets executed:
    kill_aut()

def kill_aut():
    os.system("taskkill /f /im Calculator.exe")